Many years ago, my sister (-in-law), Judy, Retired2stamp, invited me to a Stampin' Up Party. I was drawn to the 6X6 recipe card swap our local group was doing and had wanted to scrapbook too. I wasn't really interested in card making because I had witnessed my brother (in-law) Ed fold up a handmade card and put it in his pocket. I almost fainted and I didn't even make the card. But after a few parties, I was hooked and now make more cards than I had ever thought I would. My most recent passions are ATCs, tags & altered art. As you look through my blog I hope you can see how I've grown in my crafting ability!
Showing posts with label ATCoin. Show all posts

Sunday, November 28, 2021

O' Christmas Tree ATCoin

I was looking for an idea to make 11 ATCoins for our NEPA Stamp & Swap.  I'm not sure where I first saw the idea, probably Pinterest, but there is a video on the Sizzix site that I watched. 

I used the Sizzix Bigz Die w/Texture Fades Embossing Folder - Tree Rings, Mini by Tim Holtz.  ATCoins are 2 1/2" & the smaller die is about 1/8" smaller.  For each coin I cut 3 layers - 2 from SU Brown Sugar CS for the front & back of the coin & 1 from a coaster which made it sturdy without a lot of thickness.  

Once die cut, I paint the edges of the coaster brown.


I went around the edges of the cardstock with a brown Sharpie.


Next I stamped the 'O Christmas Tree sentiment from Tim Holtz Stampers Anonymous Scribbly Christmas in Ranger Coffee Archival Ink,  I wanted the sentiment to curve so I used a little adhesive to stick it to the block.  It worked OK but I did have to occasionally adjust the stamp on the block. 

I also stamp one of the trees from the same stamp set in Ranger Olive Archival Ink.


All the pieces of cardstock were then embossed.


The embossing was quite deep & some of the stamped image seemed lost.  I decided to flatten them out a little.  My thought was if I ran them back through the Big Shot it would lose all the embossing.  I tried a brayer but I couldn't apply enough pressure.  I used a rolling pin & that was just enough to achieve the look I wanted


To adhere the front to the coaster, I used a small paint brush to apply Tombow Liquid Glue to the coaster so I would save full coverage without it oozing out the side.


I printed all the backs on a sheet of cardstock & cut them out in squares with scissors.  I carefully centered the printing on the bigz die to cut them out.  They were adhered to the back of the ATCoin (& I didn't get this one on very straight...LOL).

I did touch them up a little with the brown Sharpie then added a mirrored star to the front.

TFL!


Monday, November 12, 2018

Sleet & Snow ATCoin

My first attempt at making ATCoins for a swap!  Lots of fun!


The coins were cut from coaster board using a 2 1/2" BigZ die & pieces of various  tissue wraps were cut big enough to cover the circles. Matte medium was brushed onto the coaster & tissue wrap then they were adhered together making sure the edges were well covered.


After they dried, the tissue wrap was trimmed & the edges were sanded to remove any rough edges.


They were inked using distress chipped sapphire & a little dusty concord.


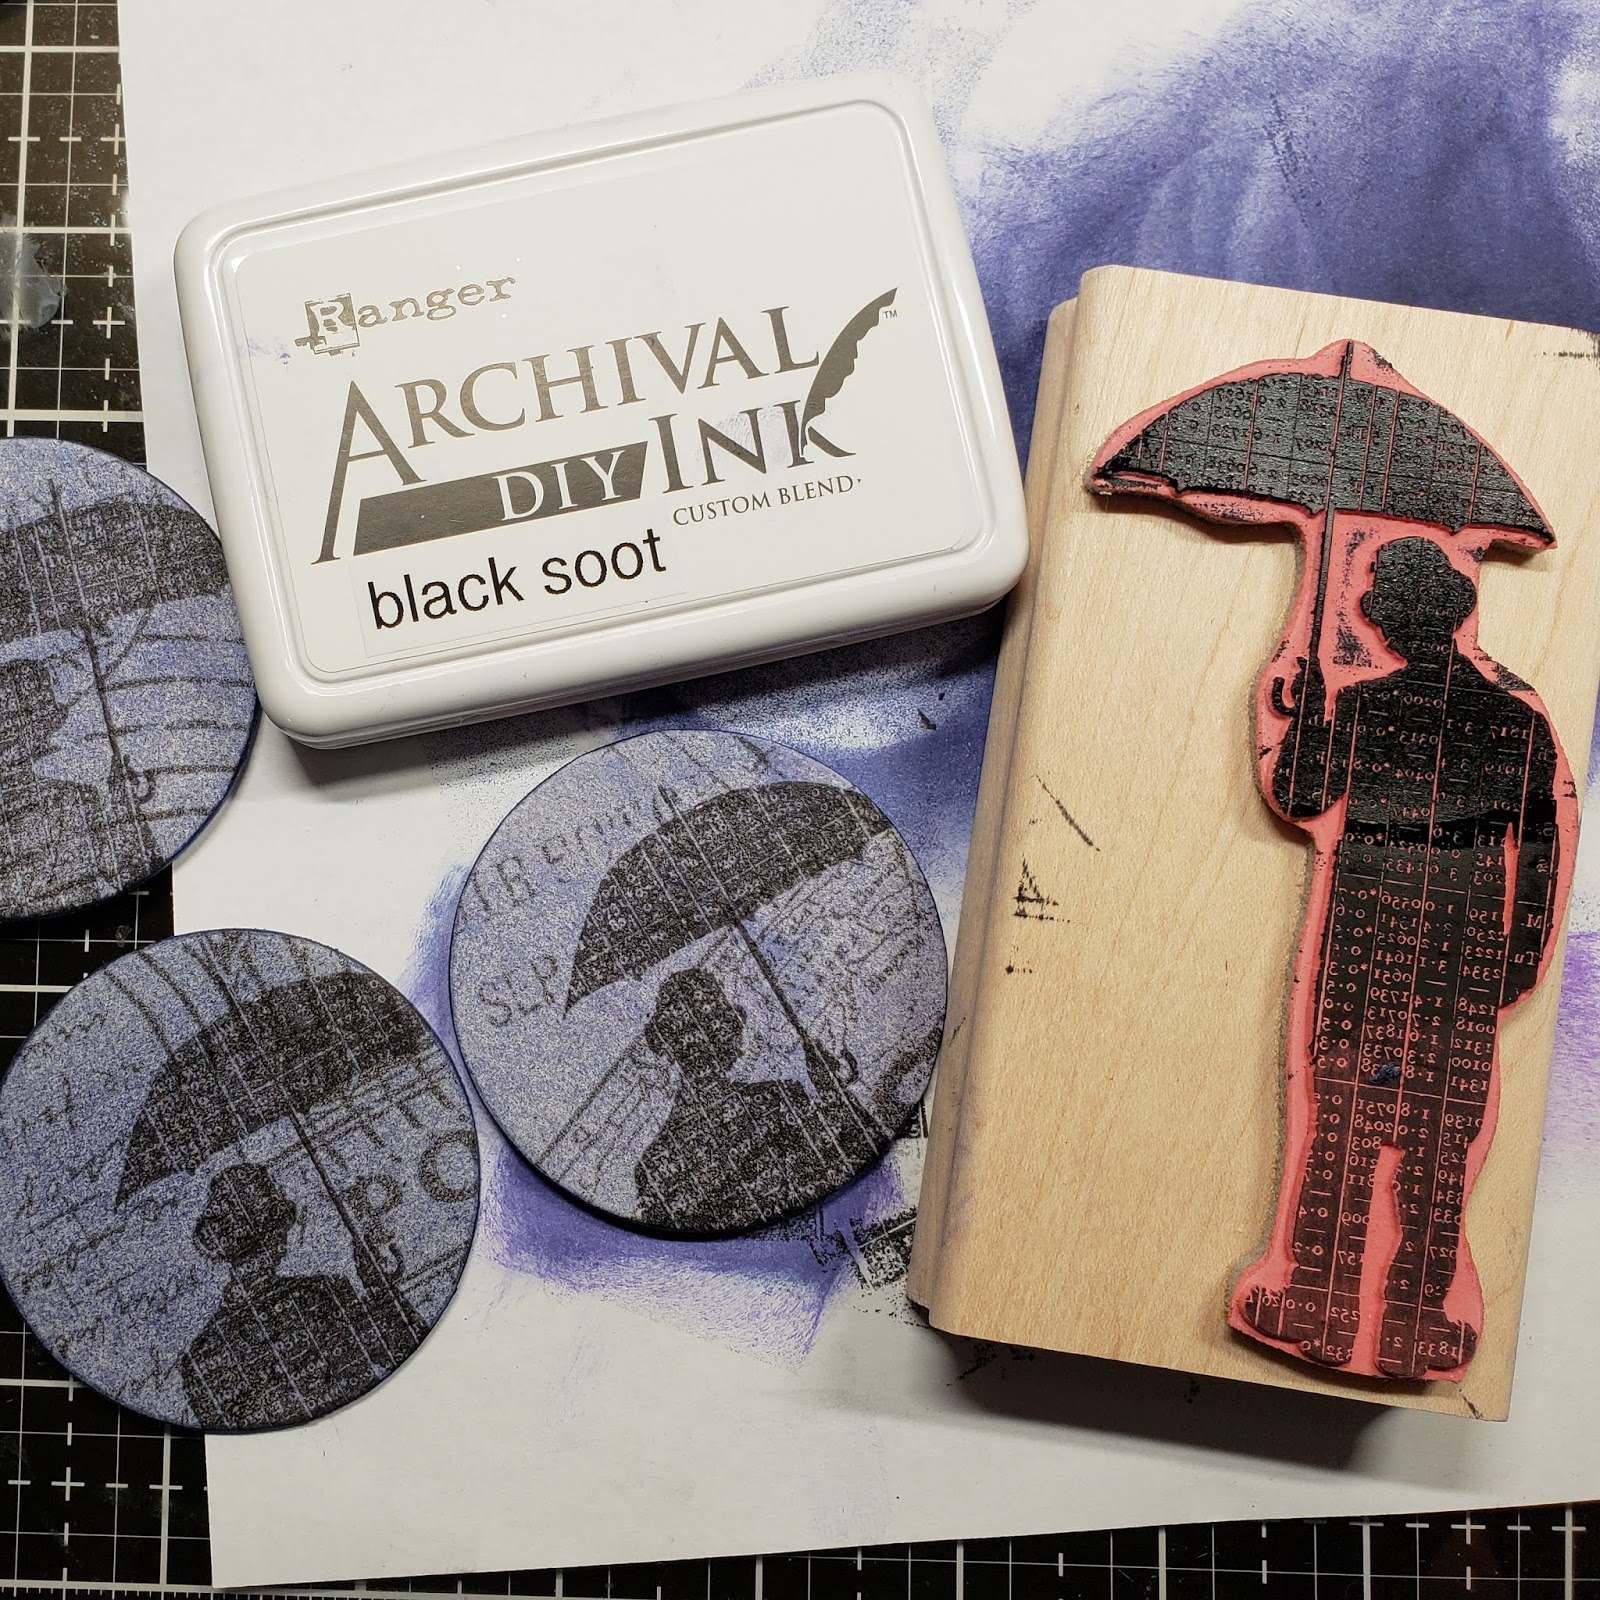
Then Umbrella Man was stamped using black soot archival ink.  This is a DIY ink pad & is also the best to stamp on acetate with.  It's definitely black without that hint of blue.


Various stickers were placed a little off the edge then trimmed.


I recently saw a technique to make rain but I'm sorry now I can't find who to give credit to.  She used a chalk marker but I didn't have good luck with it so I used the small end of a stylus dipped in picket fence paint & swiped it across the surface at an angle.  To seal the coins & give them a wet look, they were sprayed with resist spray.

Hope you enjoyed my ATCoins.

TFL!!